Design Thinking and 3D Printing in Education
Design thinking is gaining huge popularity in schools all around the world. But what exactly is it? What are some examples of it in education? And what tips are there for teachers looking to get started with it? Today we have our amazing pioneer, José Antonio, joining us on the blog to tell us more. Check out the guest blog below!

22nd April 2024 • Tips
Hello everyone! I’m José Antonio, maker educator and one of the creative thinking teachers at Prepa Udem (Universidad de Monterrey – Highschool) in México! The team is made up of professionals from different creative areas working together, using 3D printing and other technologies available in our Makerspace, to teach Design Thinking to our students.
What is Design Thinking?
Design Thinking is a methodology that encourages collaboration among students to design creative solutions focused on the needs of specific users. Inspired by the Human centered design (IDEO) model, it keeps users at the heart of the entire process and promotes empathy in everyone who is encouraged to experience Design Thinking.
This methodology is constantly evolving over time and takes different forms around the world, within various pioneering institutions of innovation and creative thinking, such as IDEO, Google, IBM and Stanford. At Prepa Udem, we work Design Thinking through six interconnected stages through an iterative loop that takes the form of an infinity. The stages are as follows:
- Understand: research and empathize with users’ needs and desires.
- Define: delimit the problem and establish a clear vision.
- Ideate: generate creative ideas and innovative solutions.
- Prototype: create prototypes to visualize and test our ideas.
- Test: evaluate prototypes with real users and gather feedback.
- Refine: Based on the results obtained, adjust and improve the solutions.
Why is it important in education?
Design Thinking takes place both inside and outside the classroom. It is the bridge that connects the knowledge acquired in school with its application in the real world. To students, it shows them that they are truly capable of creating an impact in their community at any time, without having to wait until they finish their professional studies to achieve it.
What are the opportunities with 3D printing within the design thinking process?
In Design Thinking, iteration is key. Throughout the process, you go back, redo and test again. This allows identifying deficiencies, errors and needs, bringing students closer and closer to solutions that respond to their user’s needs.
This is where 3D printing, as well as other rapid prototyping technologies, fits in perfectly. 3D printing makes it possible to produce small prototypes in measured amounts of time and make the necessary adjustments until they work properly.
However, its main advantage is the customization of prototypes (User-Centered Design). Students can design products precisely suited to their users, such as orthoses, using 3D scanners. Or they can also incorporate specific features according to the user’s particular needs, such as improving the ergonomics of a product or adding embossed markings and textures.
Examples of design thinking and 3D printing at Prepa Udem
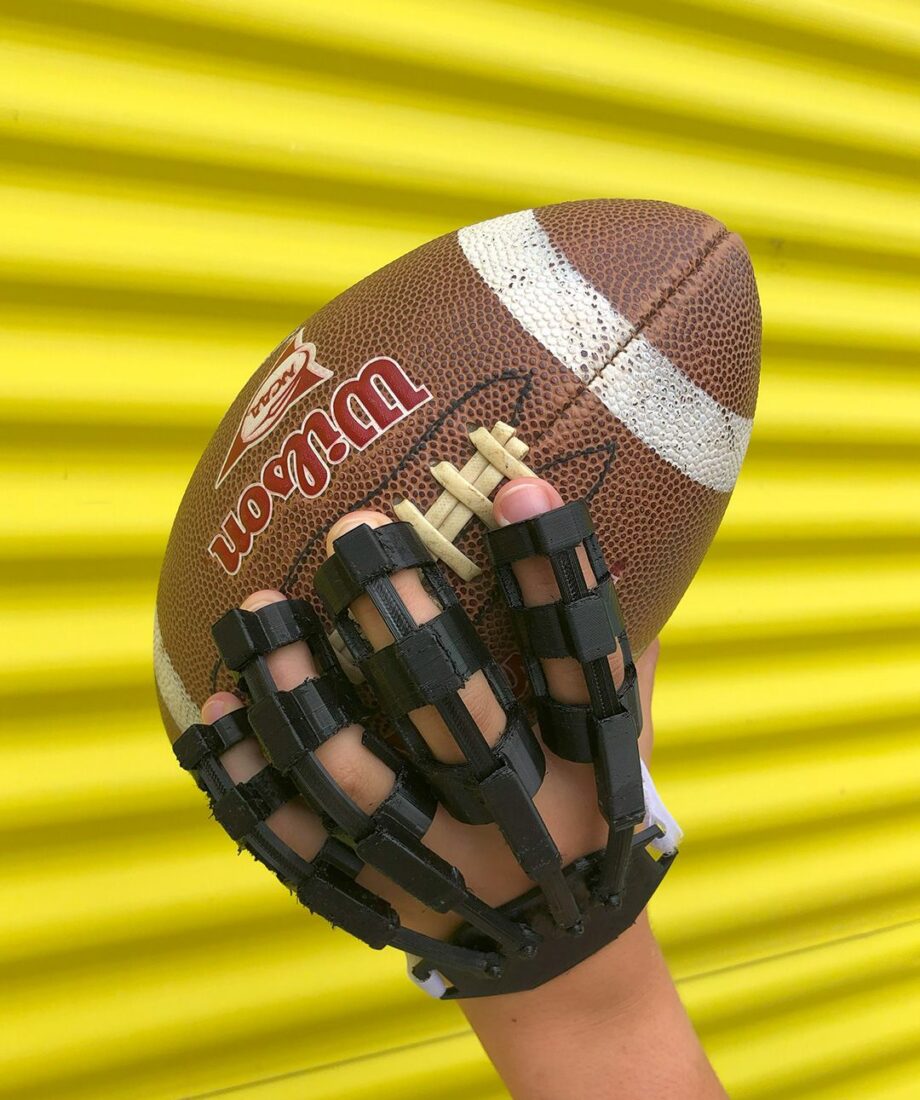
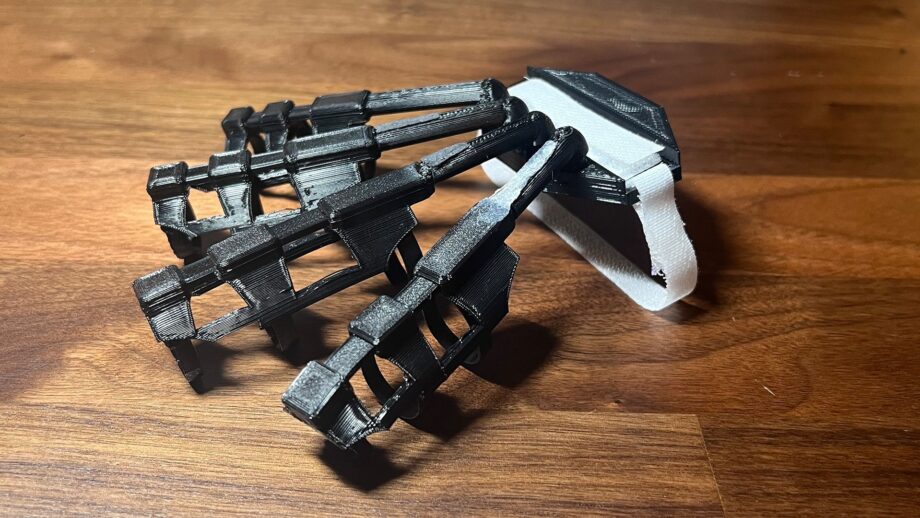
A 3D printed semi-flexible hand exo-skeleton to treat sports injuries in young people with fragile joints, Make:able Challenge 2023 finalist project.
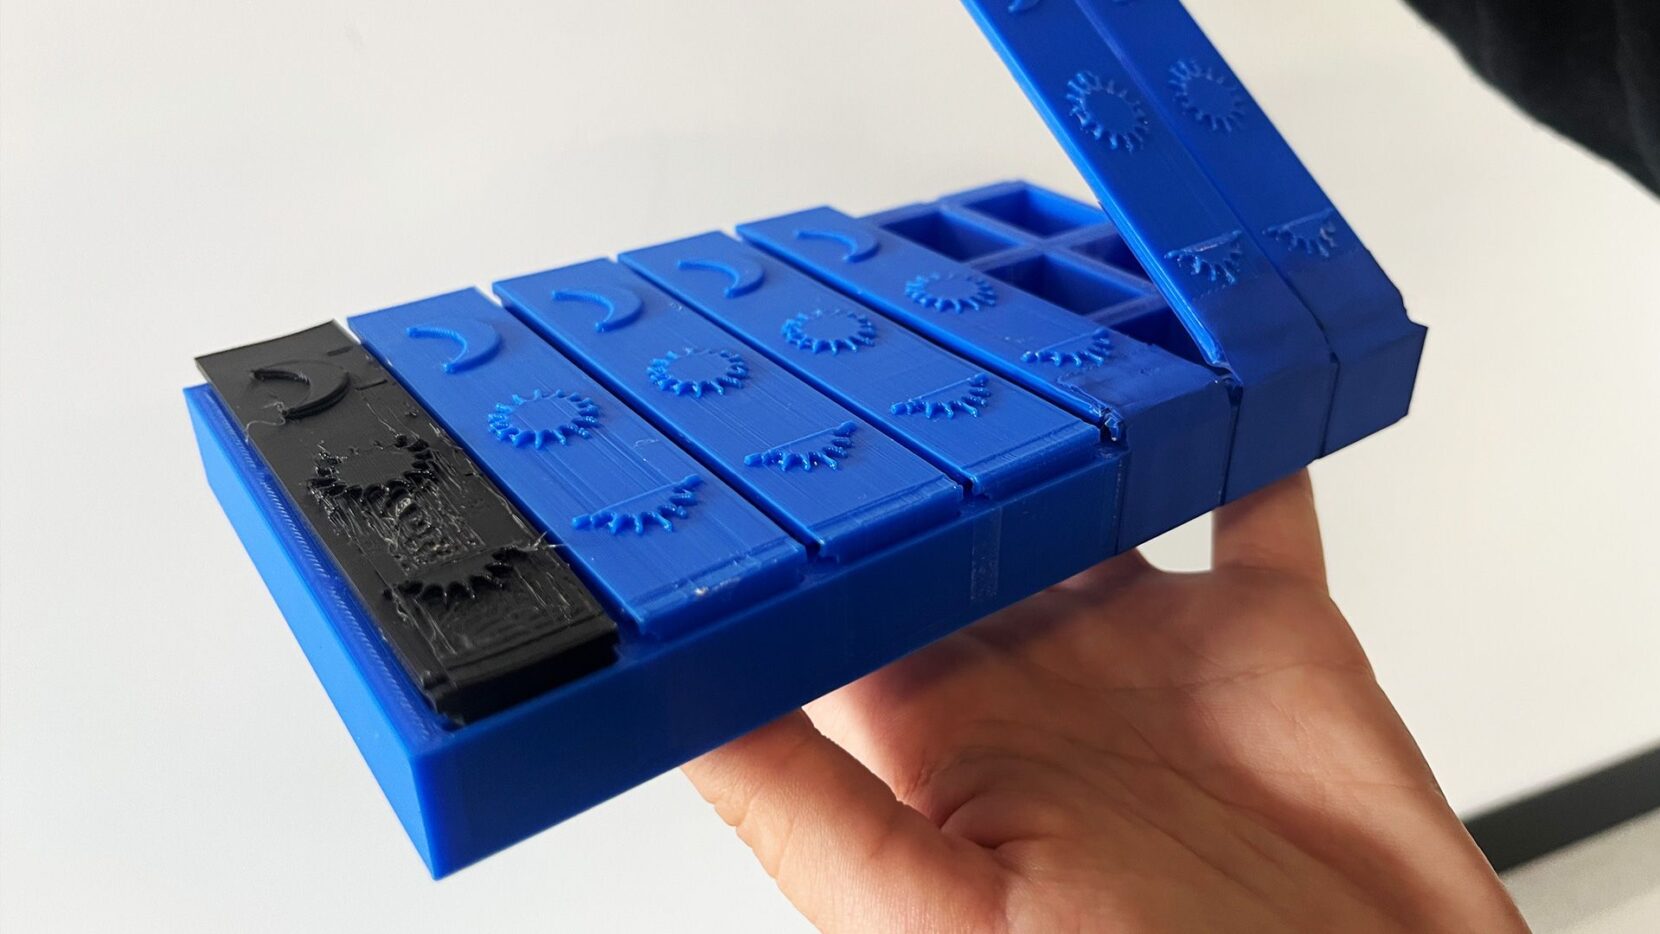
A 3D printed smart pillbox model that synchronizes with a digital app to support seniors in keeping track of their medications.
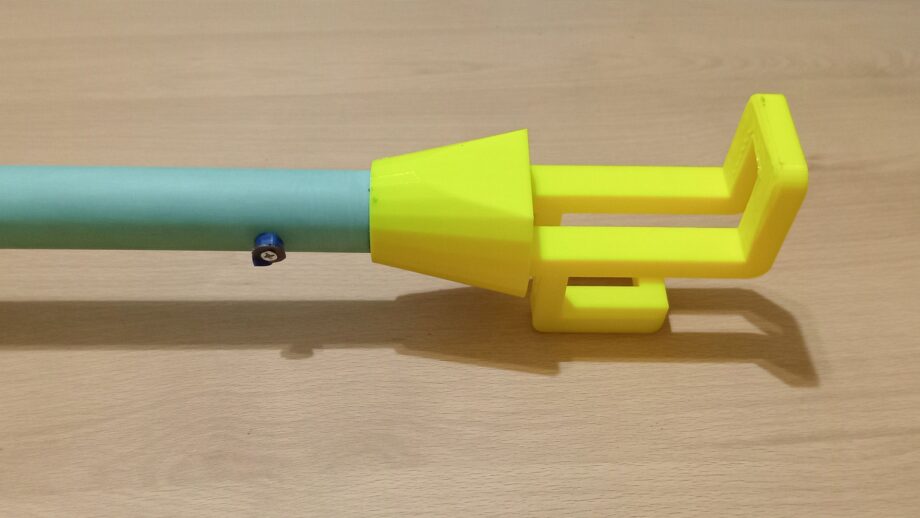
A shoe cane with 3D printed adapters to help people with restricted mobility to bring their shoes closer and put them on properly.
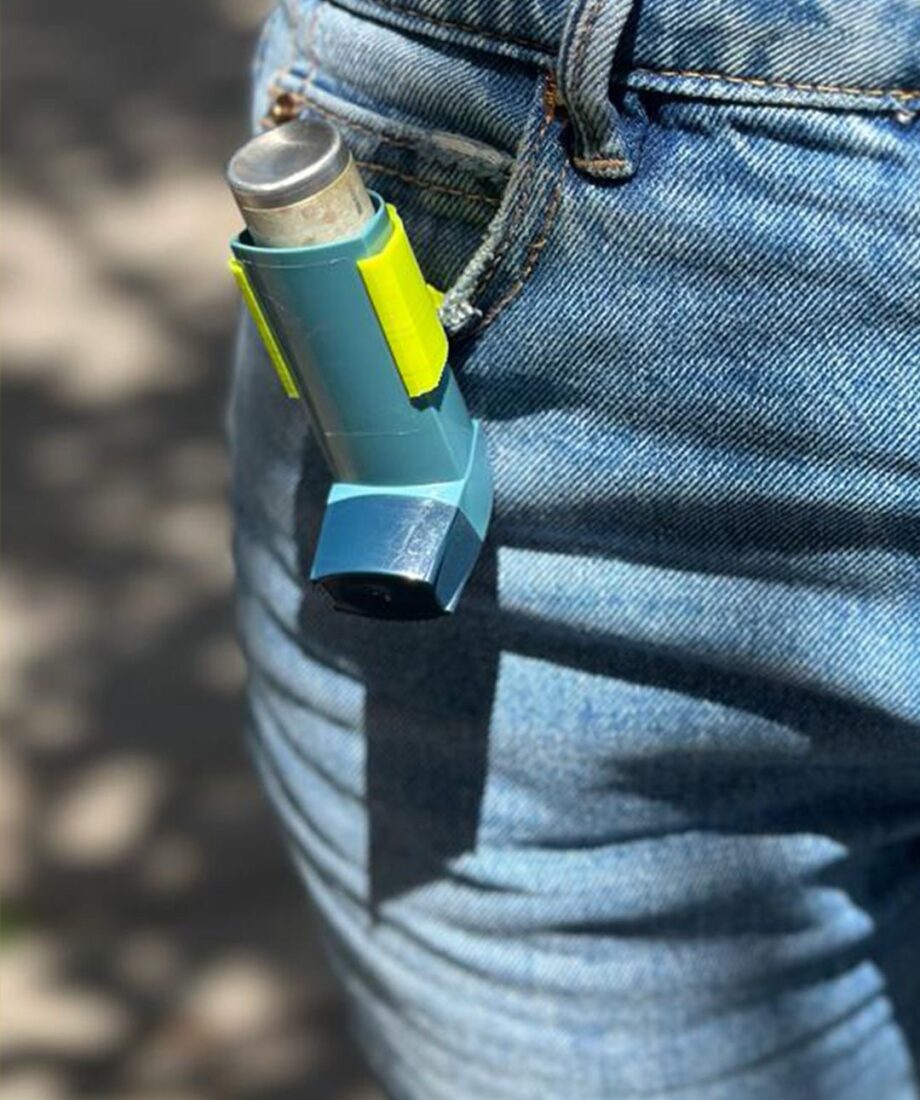
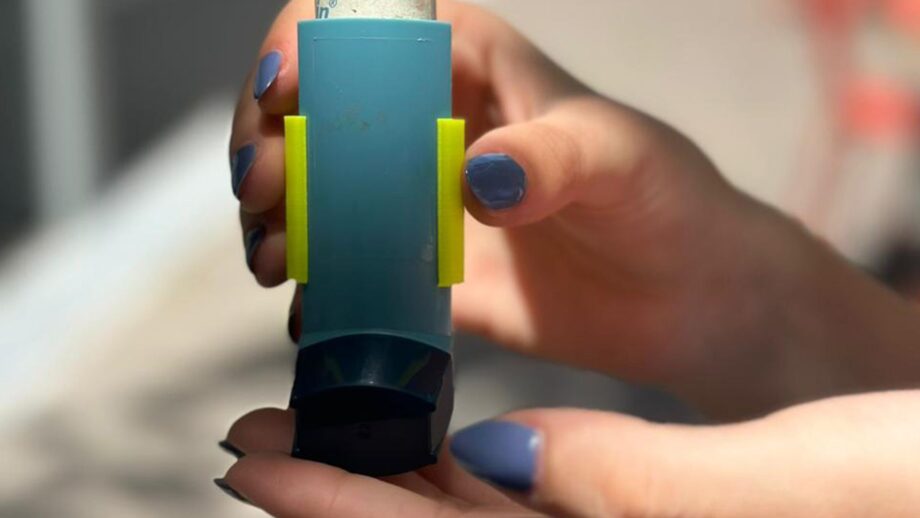
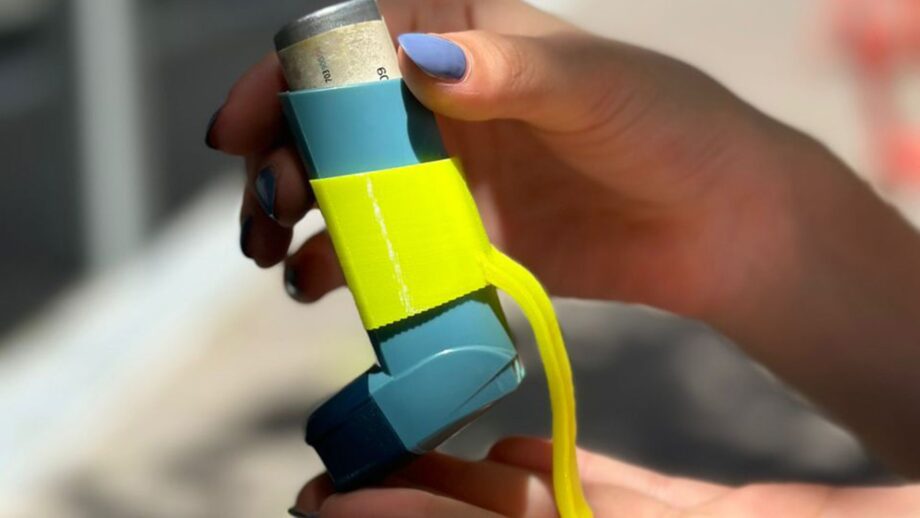
A customized 3D printing snap to fit an inhaler for young students suffering from asthma.
Advice for teachers getting started with design thinking
Establish your role as facilitator from the beginning: Design Thinking is about making good decisions, and students must take responsibility for these decisions. Unlike traditional school, where students receive information passively, in the development of Design Thinking projects, each student is the leader of his or her own project. The teacher, in this case, plays the role of facilitator and guide. We like to think of ourselves as forest rangers, watching from the control tower as students explore the forest of their own ideas. However, we are always on standby to come to their rescue if they need us.
Develop your project management skills: Design Thinking projects require time and several sessions to complete, especially since much of the work is done outside the classroom (such as user interviews). In this context, the teacher takes on the role of project manager, tracking several teams of students at once. Here are some general tips for carrying out this task successfully:
a. Negotiation and Conflict Resolution:
- Design Thinking is an emotionally intense process, with ups and downs. It is normal for stress and disputes to arise between teams.
- A good strategy is to assign specific roles, from the beginning, to each team member so that they can develop their role throughout the process.
b. Visualize the Big Picture:
- It’s easy to get lost if you don’t have a clear view of the overall perspective. Start each class with a recap of the previous session.
- Create an overview calendar or Gantt chart that you update daily with your students. This will let them know where they are in the process and what comes next.
c. Constant Feedback:
- Offer your students a space during each class to receive live feedback on their progress.
- Record progress on a chart or diagram so they can measure the amount of time and effort spent on their project; however, it is very important that this strategy not be used to compare teams to each other.
Count on the technology, but don’t rely exclusively on it: If you have access to a makerspace with several fabrication technologies, it is normal for students to have a favorite tech or tool that they want to use all the time. However, this choice may not always be the best fit for their project, especially when students are working under clockwork. As a teacher, it is important to teach students to select the appropriate technology wisely. For example, why wait 6 hours to 3D print a cube, when they can laser cut the parts and assemble them in less than 30 minutes? Choosing the right technology can make all the difference in the efficiency and success of their projects.
It’s not completely necessary to build from scratch: Designing a complete product takes a lot of time and practice, especially for inexperienced students. Instead, you can recommend to your students to use free 3D models from online design repositories such as Tinkercad, Thingiverse or Cults3D, and then adapt them according to their needs. The skills of imitation, modification and innovation are fundamental to the Maker and Tinkering culture.
Remember that small ideas changed the world: At the beginning of the project, it is totally normal for students to believe that they must completely fix the lives of their users, which generates a huge expectation and a heavy emotional charge. A common example is when they are assigned a user who suffers from asthma, and students immediately assume that they must “cure their asthma.” In reality, they might only need to design an assistive device or a custom clip for their inhaler, the outcome hinges on the user’s daily life and routines. The teacher’s responsibility is to keep the goals realistic and aligned with each student’s current capabilities, but always leave room for growth and improvement.
Lean on Design Toolkits: Design toolkits are real allies for applying design thinking in the classroom. These resources contain activities and templates that will allow you to guide your students through each stage of the creative process.
a. IDEO Method Cards: IDEO created these cards, which bring together 51 core methods, with examples, used to inspire exceptional design and keep people at the center of the process.
b. Field Guide to Human-Centered Design: IDEO has stepped forward with its Field Guide, a 192-page recap that covers everything related to human-centered design. Here you’ll find 57 design methods and includes case studies and worksheets to fill out with your students.
c. PrintLab: Offers a more specific perspective for the school environment with its own library of methods, projects and creative challenges related to design thinking. Explore their resources to find activities that fit your educational goals and incorporate them into the particular context of your classrooms.
Thanks for your time
Thank you all for taking the time to read our tips! We invite you to follow us on our social networks to stay tuned for more content. And if you need help, don’t hesitate to send us a message.